

How to Wash and Care for Custom Patches (Without Peeling or Fading)
To wash custom patches without peeling or fading, use a cold, gentle machine wash for most types and air-dry them flat. Hand-wash only chenille and leather. Always take off safety-pin and Velcro patches first, skip bleach and dryers, and wait 24–48 hours after applying an iron-on patch before its first wash.
Quick Summary
Before we get into the details, here is the simple rule: wash custom patches with cold water, mild soap, and gentle handling, then air-dry them flat. Avoid heat from hot water, dryers, and steam, as it causes most peeling and fading. Match your care routine to the patch backing, and always wait 24–48 hours before washing a fresh iron-on patch. For industrial laundry, sew-on patches are the most reliable choice.
I've spent twenty years around embroidery machines and heat presses.
The fastest way to ruin a good patch isn't a bad design or cheap thread — it's a wash cycle nobody warned the customers about. A hot machine, tumble dryer, or bleach can make patches curl and fade.
This guide shows you how to wash custom patches the right way by material and backing, so they stay crisp and firmly in place.
Why Patches Peel, Fade, and Fray
Before you can protect a patch, you need to know what actually damages it. In twenty years around embroidery machines and heat presses, I've seen the same three problems again and again: heat, sunlight, and rough handling.
Heat is the biggest threat. High temperatures weaken iron-on adhesives and can warp PVC patches, causing edges to lift over time. Sunlight is the quiet one, slowly fading threads and printed colors with repeated exposure. Rough handling is the avoidable one — hard scrubbing, friction, and poor storage can fray edges, flatten textures, and leave permanent creases.
Most patch failures are not caused by poor quality. They happen when a patch faces conditions it was never designed to survive. The good news? These problems are easy to prevent.
The Golden Rules for Washing Custom Patches
Before we split things by material, here's the baseline that works for nearly every patch. If you're learning how to wash custom patches, these simple habits will help you avoid the most common mistakes:
- Wash cold and gentle. Use a cold, delicate cycle for most patches, and save hand-washing for more sensitive materials.
- Spot-clean first. A damp cloth with mild soap can remove many stains without putting the patch through a full wash cycle.
- Use mild soap only. Turn the garment inside out to protect the patch surface from friction and unnecessary wear.
- Air-dry flat. Avoid tumble dryers, as heat can weaken adhesives and damage patch materials over time.
- Skip bleach and fabric softener. Both can break down fibers, dull colors, and reduce the lifespan of your patch.
Test One Before Washing Fifty
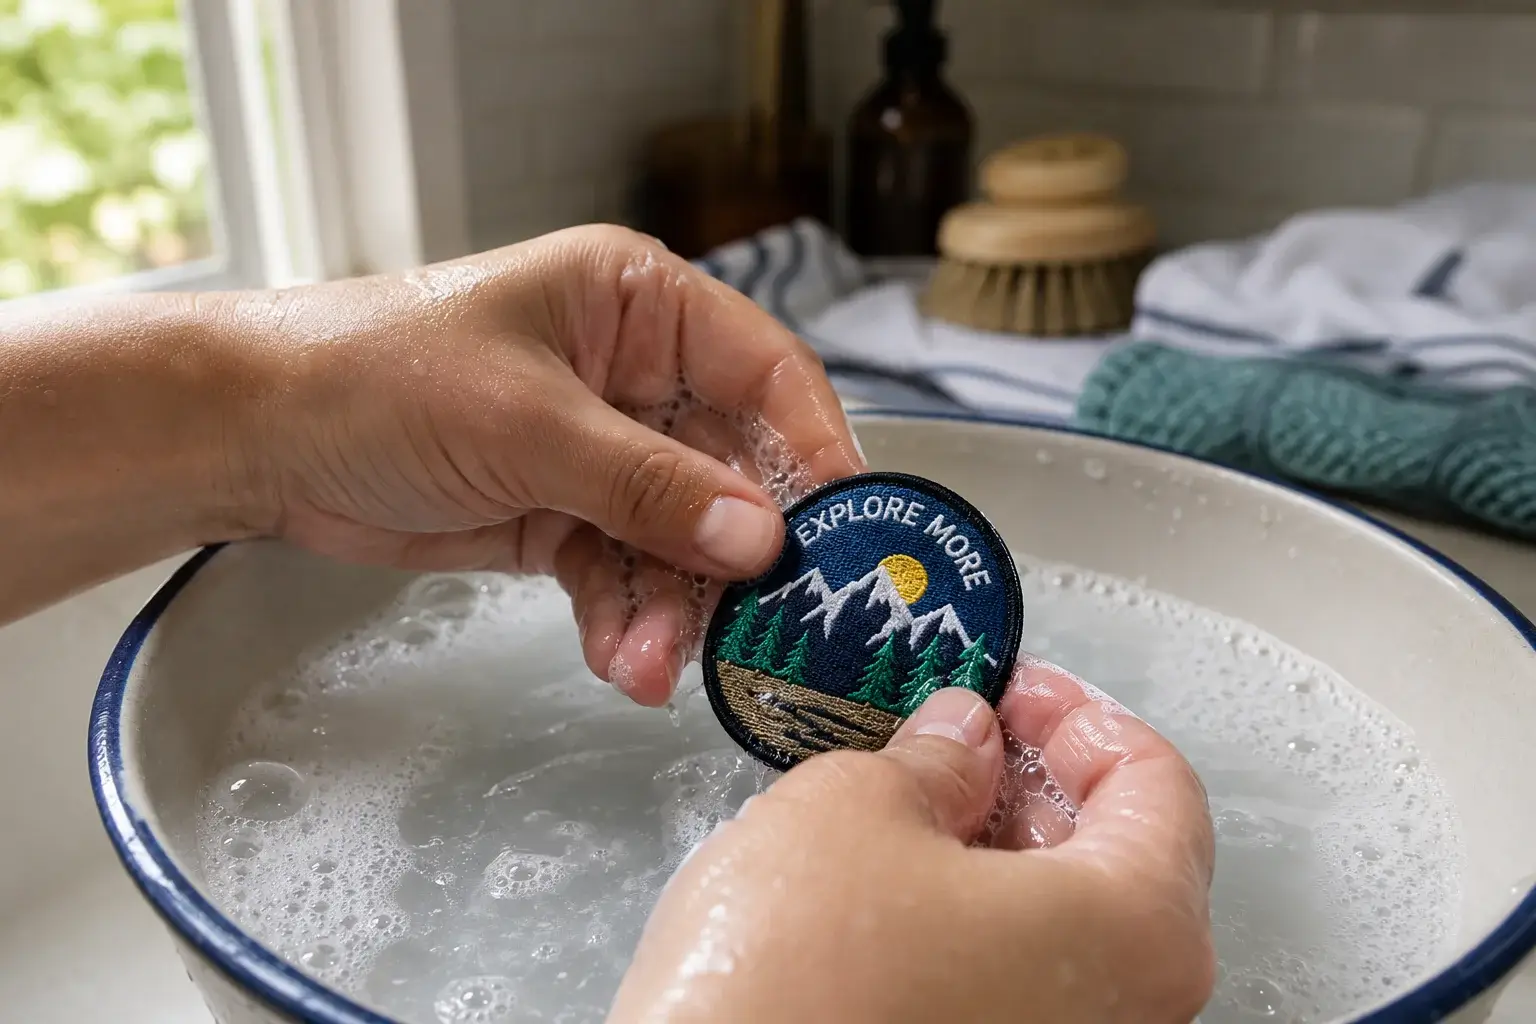
Before you run a whole batch of patched uniforms through the machine, wash a single piece and check it.
Five minutes of testing beats ruining fifty shirts. It's the oldest habit on our workshop floor, and it has saved more orders than I can count.
Cleaning by Patch Material
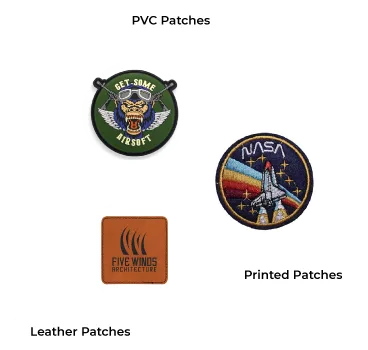
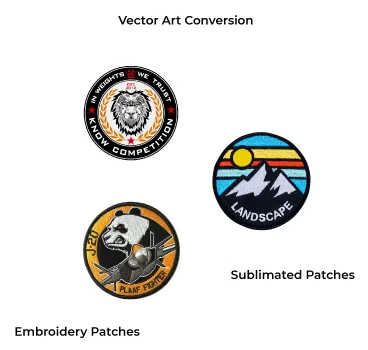
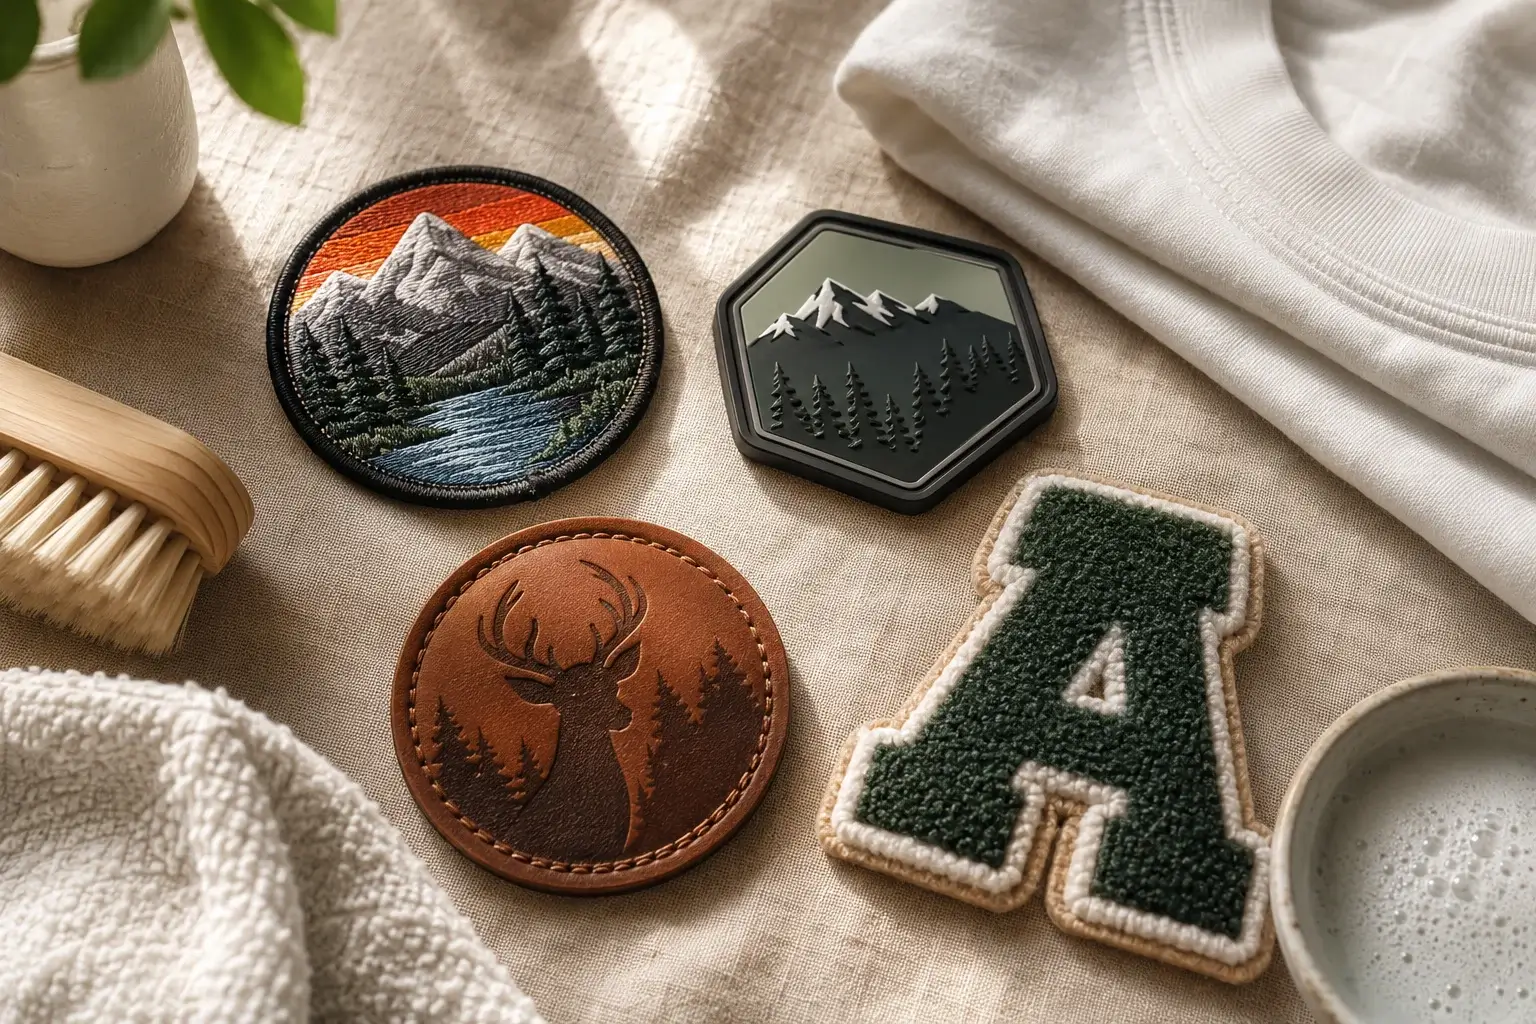
The material tells you how gentle you need to be. Here's how we care for each type at the factory.
Embroidered Patches
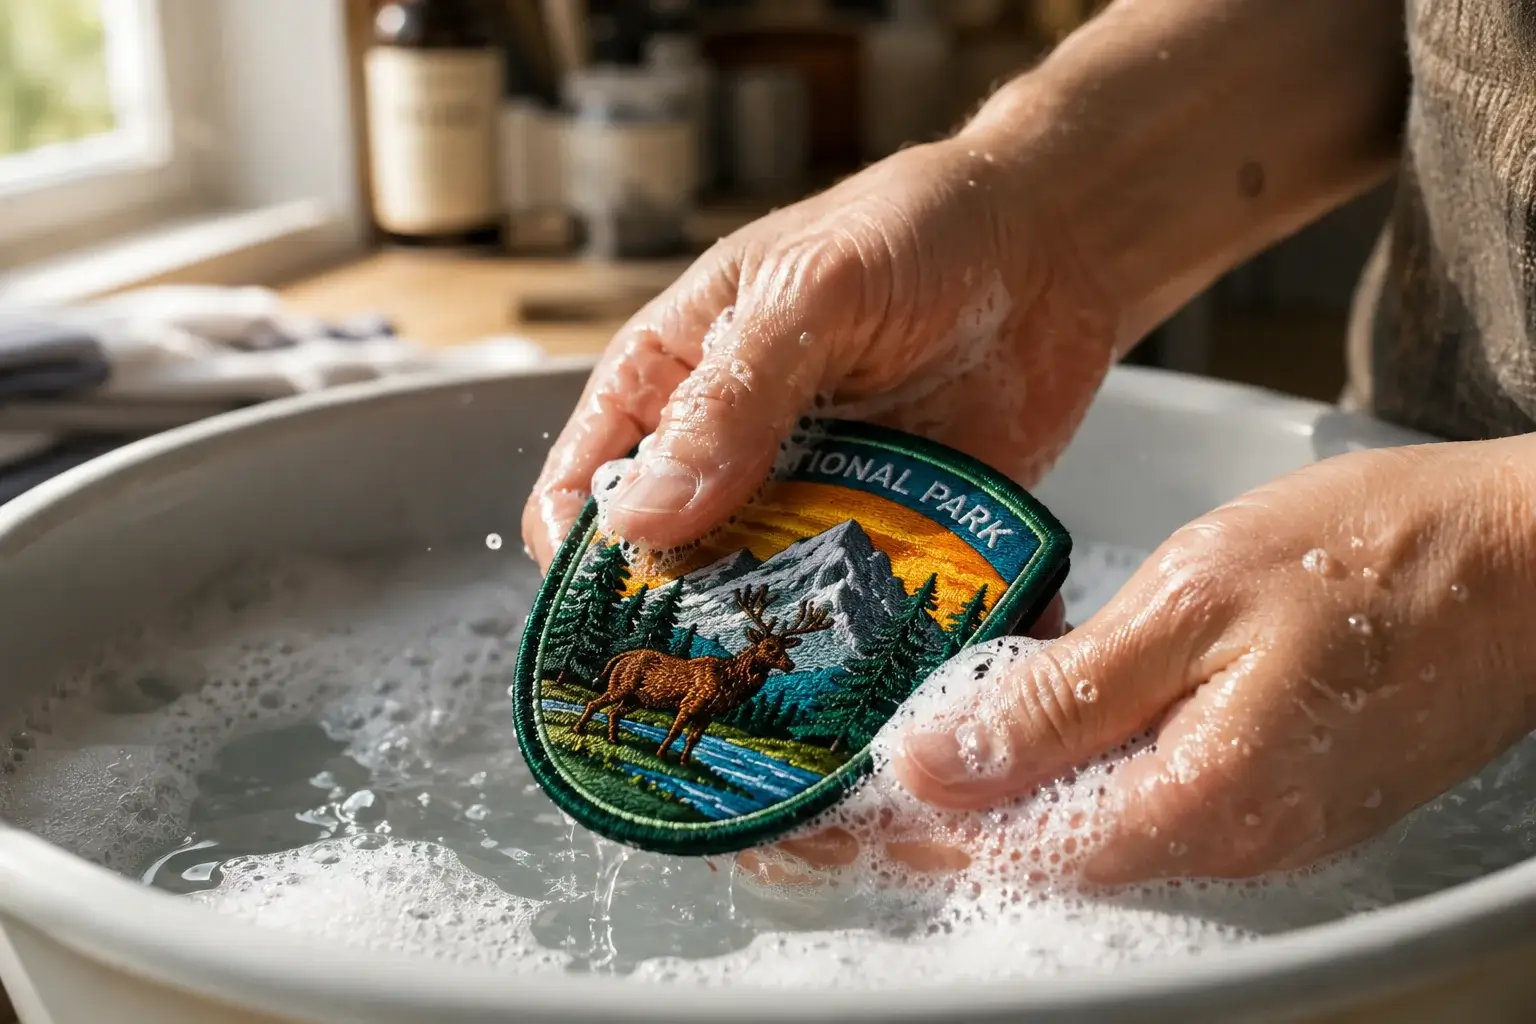
For cleaning embroidered patches, use a damp cloth, mild soap, and lukewarm water. For stubborn spots, use a soft brush in the direction of the stitching to avoid lifting the thread ends. Avoid harsh scrubbing, dryers, and direct sunlight. Let them air-dry to keep the threads looking sharp and in shape.
Woven Patches
Woven patches carry finer detail than embroidered ones, so treat them softer. Wipe with a microfiber cloth and a little mild soap, and resist the urge to scrub — heavy pressure flattens that delicate weave. Pat dry, then let them finish in the air, well away from heat.
PVC (Rubber) Patches
PVC is tough but heat-shy. Rinse under cold water, wipe with mild soap and a soft cloth, rinse again, and air-dry. Keep them clear of high heat and long sun sessions, because heat warps the rubber and blurs those clean molded edges.
Chenille Patches
Chenille is the fluffy, varsity-jacket favorite, and it needs a soft touch. Lift loose dust with a lint roller first. Then clean gently with cold water and mild soap. Don't scrub and don't wring — blot carefully and dry it flat so it keeps its shape and that plush texture.
Leather Patches
Leather never goes in the machine. Spot-clean with a damp cloth only, keep it away from soaking and heat, and condition it every few months so it stays supple instead of cracking. Real leather is porous, so a soak that would be harmless to embroidery can leave a permanent water stain here.
Sublimated Patches
Sublimated print is heat-fused right into the fabric, so the color holds beautifully. Even so, give it a cold wash and air-dry to protect the surrounding fabric and the edges. The dye is set into the polyester at high heat during printing, so it won't bleed the way a surface print does — but the fabric around it still fades under a hot dryer.
Care by Backing Type
If the material tells you how to clean a patch, the backing tells you how it's attached — and that changes the care routine.
Two patches made from the same thread can need different handling depending on the backing.
Here's how each type behaves in the wash.
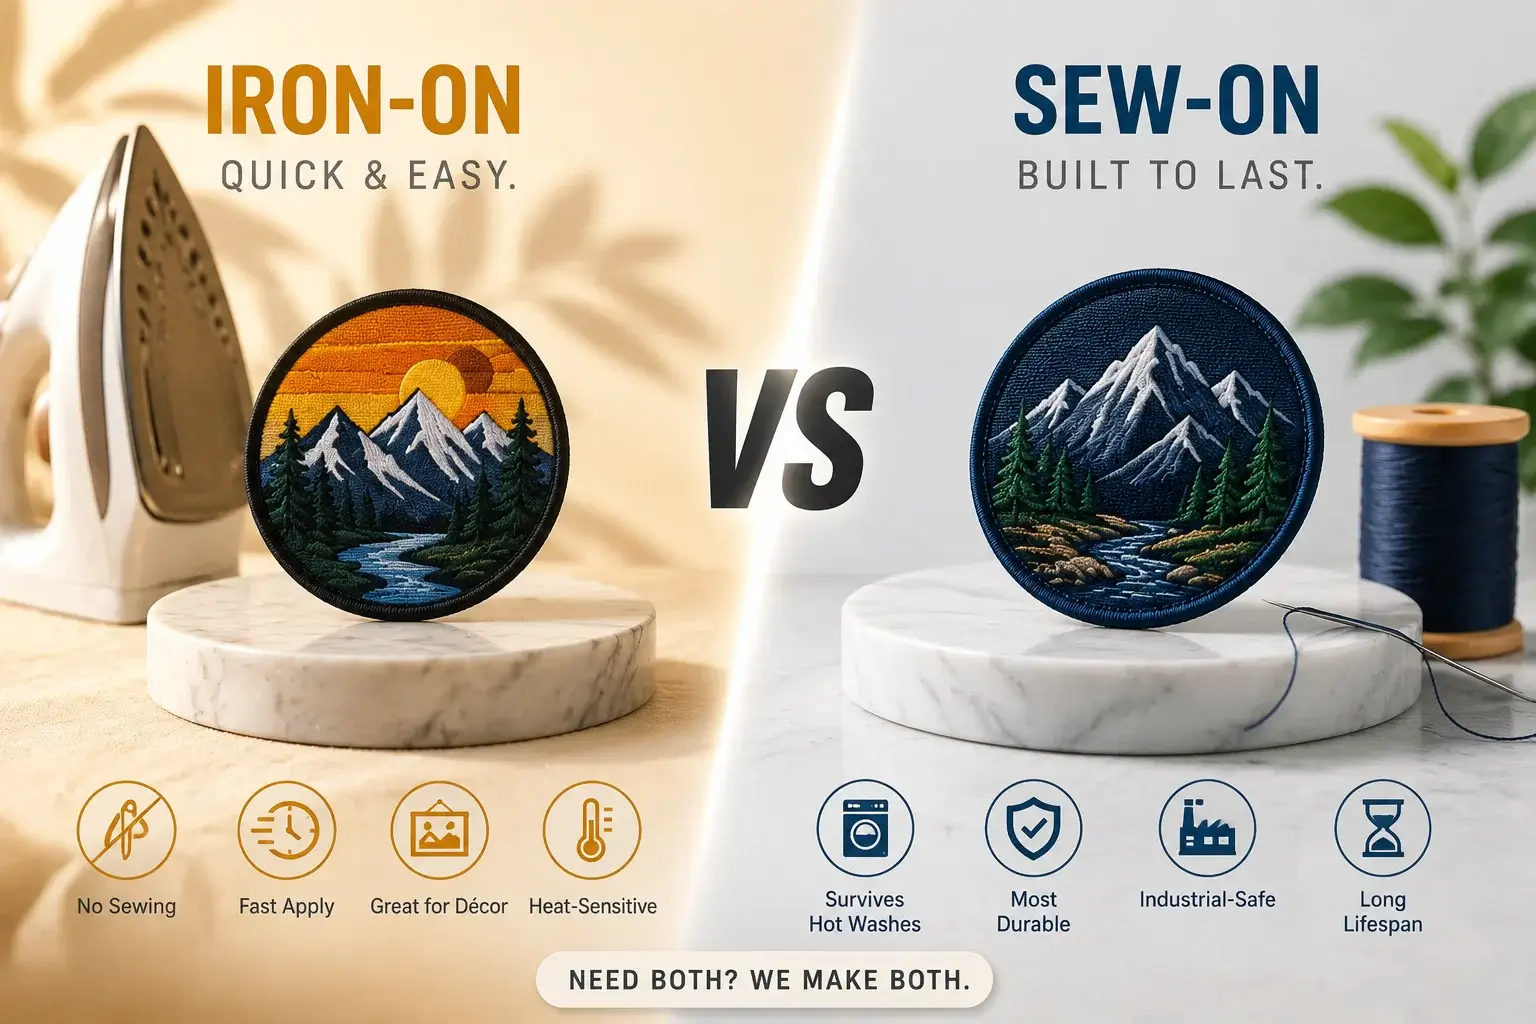
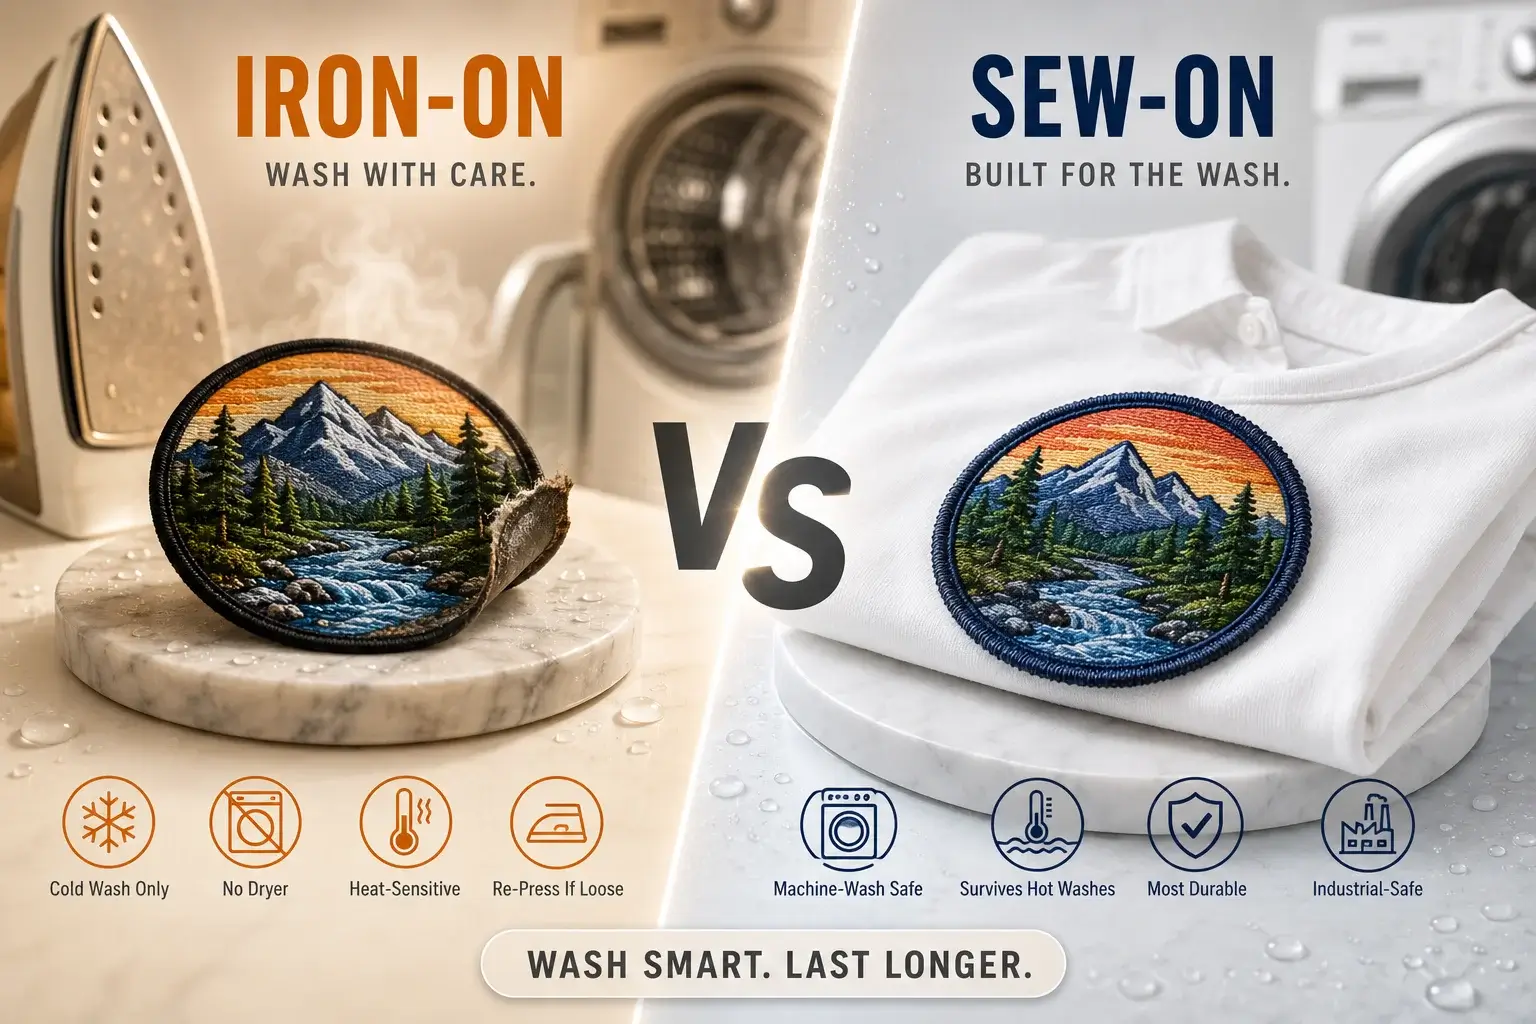
Iron-on patch care is the most heat-sensitive, which is why it fails most often.
Use a hand wash or cold wash only, then air-dry and spot-clean whenever possible.
Avoid hot water, dryers, steam, and dry cleaning, as they can weaken the adhesive. If an edge lifts, re-press it with an iron and a protective cloth.
For frequently washed patches, stitching the edges adds extra durability.
The First Wash Rule for Iron-On Patches
Wait 24 to 48 hours after applying an iron-on patch before its first wash.
Most early failures happen because the adhesive has not fully cured yet, not because the patch was faulty.
Washing Velcro patches is easiest when you take them off first.
If you'd rather leave them on, close the hooks and drop the garment in a mesh laundry bag so the hook side doesn't grab lint and snag everything around it.
Clean the hook side itself with a soft brush.
Sew-on patches are the workhorses.
They're the most durable and need the least fuss — a gentle machine wash is fine, and hand-washing stretches their life even further. Just glance at the stitching once in a while.
Safety-pin patches come off before every wash, no exceptions. Wet metal rusts, bends, and can leave stains on the fabric around it.
Washing Velcro patches need a little extra care. Remove them before washing whenever possible.
If you leave them attached, close the hooks and use a mesh laundry bag to stop them from grabbing lint or damaging other fabrics.
Clean the hook side with a soft brush when needed.
Quick Comparison: Patch Backing Care Guide
Here's the quick reference we hand to clients:
| Backing Type | Best Wash Method | Durability | Watch Out For |
|---|---|---|---|
| Iron-On | Hand or cold wash, air-dry, spot-clean when you can | Low–Medium | Hot water, dryers, steam; adhesive lets go |
| Velcro (Hook & Loop) | Remove first; or close hooks in a mesh bag | Medium | Lint and snagging on the hook side |
| Sew-On | Gentle machine wash; hand-wash for longest life | High | Little — just check stitches now and then |
| Safety Pin | Always remove before washing | N/A while attached | Rust, bending, and stains on fabric |
Choosing the right patch is only half the job. The backing, thread quality, and application method all decide how long it survives in the real world.
At Patch Specialist, we help businesses match patch styles to real-world use — from uniforms to branded apparel.
See the full range at patchspecialist.com.
Drying and Storage
How you dry and store patches matters just as much as how you wash them. A crease pressed into a design is every bit as damaging as a bad wash.
- Air-dry flat and reshape patches while damp to prevent curling.
- Store patches flat, never folded, to avoid bends and creases.
- Keep them away from sunlight and moisture to protect colors.
- Use zip bags or acid-free containers to block dust and damp.
- Store PVC patches separately to prevent marks on fabric patches.
- For collectors, a patch display book keeps everything organized and protected.
Do's and Don'ts at a Glance
Do
- Hand-wash or use a cold, gentle machine cycle.
- Spot-clean before a full wash.
- Use mild soap and turn garments inside out.
- Air-dry flat every time.
- Re-iron loose iron-on patches with a protective cloth.
Don't
- Use dryers or high heat.
- Use bleach or fabric softener.
- Leave PVC patches near heaters or hot cars.
- Scrub delicate patches.
- Wash Velcro patches while attached.
A Word for Sellers and Uniform Suppliers
If you sell patches or supply branded uniforms, this section protects your reputation, not just your product. Most "faulty patch" complaints are not manufacturing issues — they are care mistakes that can be prevented with simple guidance.
- The first-wash rule. Most iron-on failures happen during the first wash before the adhesive fully cures. Tell customers to wait 24–48 hours after applying a patch before washing it. This small detail can prevent many avoidable returns.
- The care-card habit. Add a simple care note to the invoice or include a card with every order. Most peeling happens because customers use hot washes or dryers without knowing the risks.
When a patch fails, it often becomes a customer service problem, not a manufacturing one.
A simple care card protects your reputation and strengthens customer trust long after the sale.
Industrial Laundry Reality
Most guides call iron-on patches "easy" and stop there. The truth is, industrial dryers can weaken the adhesive. At around 85°C (185°F), repeated heat can loosen patch edges or cause detachment. For commercial laundry cycles, we recommend a merrowed-edge sew-on patch — the difference between a uniform that lasts months and one that lasts years.
The Bottom Line
Caring for custom patches is simple: keep them cold, gentle, and away from dryers. Match your care routine to the material and backing to make preventing patch fraying, fading, and peeling a habit.
If you want patches built to last from the first stitch, come see us.
At patchspecialist.com, we create durable custom patches and send a mock-up within 24 hours.
Build it right once, and the care takes care of itself.