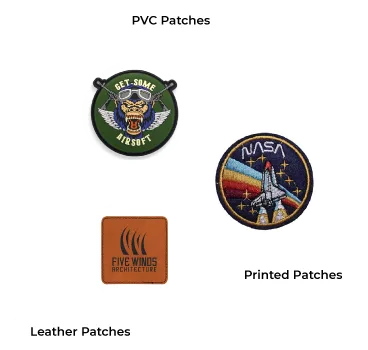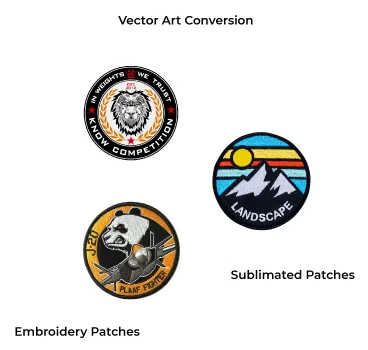


What It Really Means
That sharp logo on a work jacket didn't start as thread.
It started as a plain image on a screen — and an embroidery machine can't read an image any more than it can read your mind.
Say you send us your company logo as a JPEG.
To you it's a finished design.
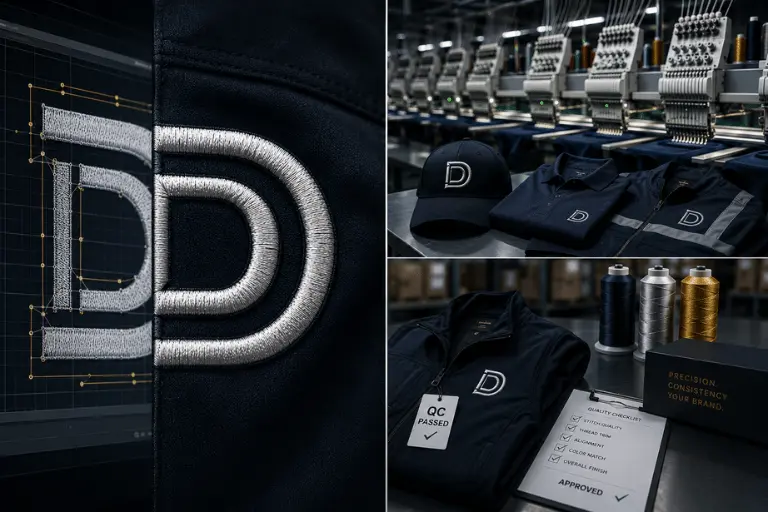
To the machine, it's meaningless — until digitizing maps out the exact path, order, and direction of every stitch. That map is the digitized file.
A digitizer paints with stitches instead of a brush — and like any painting, the rules of the craft decide whether it looks good or cheap.
I've spent years on the factory floor at Patch Specialist, and answering what is embroidery digitizing is the question I hear most.
Digitizing Is Not Embroidery
People mix these two up all the time, so let's clear it fast.
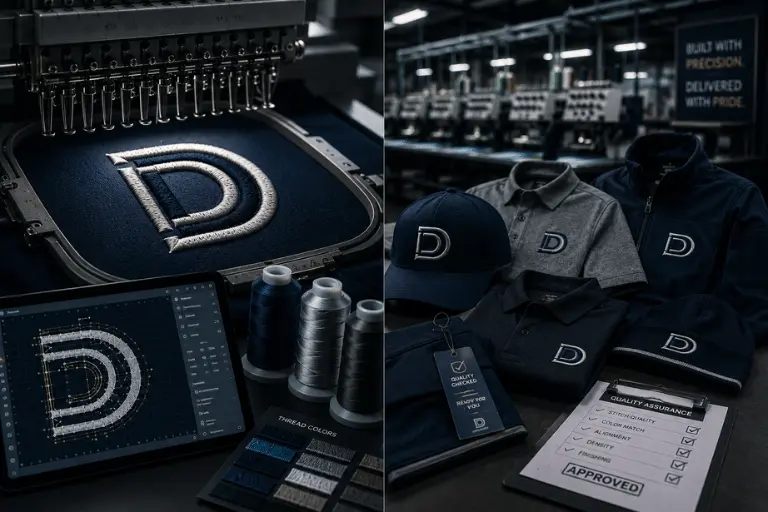
Digitizing creates the file. It happens on a computer.
Embroidery sews that file onto fabric. It happens on a machine.
One is the plan. The other is the build.
Two steps, two tools.
The Myth Worth Killing
❌ Myth: "Just drop the image in and the machine stitches it."
✅ Truth: The machine cannot read an image. Digitizing has to come first.
I've had new owners send a JPEG and expect a finished cap by morning. It does not work that way.
Manual vs Auto-Digitizing
There are two ways to get a design digitized, and this auto-digitizing vs manual digitizing choice decides your final quality.
A person can plan each stitch by hand that's manual: slower, but high quality.
Or software does it in seconds that's auto: fast, but weaker.
| Feature | Manual | Auto |
|---|---|---|
| Quality | High | Lower |
| Speed | Slower | Very fast |
| Small text | Sharp | Often fails |
| Tricky fabric | Handled | Struggles |
| Long-term cost | Lower | Higher |
Insider Secret: When you see "$5" or "instant AI" digitizing, you're almost always buying an auto file with no sew-out test. On the floor, those cause the same three problems:
- Unnecessary trims that slow the machine
- No pull compensation (hello, puckering)
- Messy layering that snaps needles.
Cheap up front, expensive redo later.
The Digitizing Process Explained
Here is the digitizing process explained in the short, real-world version:
- Clean up the artwork.
- Import it into software like Wilcom, Hatch, or Pulse.
- Set the size and placement.
- Pick stitch types — satin for text, fill for big areas, running for lines.
- Set the thread direction, colors, and stitch order.
- Save in the right format.
- Stitch a test sample and fix any puckering before delivery.
That test run matters more than people think.
Better to catch a flaw now than after 500 uniforms are done.
What Makes a Design Good
Four things quietly decide the result:
- Underlay — hidden base stitches that hold everything steady.
- Stitch types — running, fill, and satin, each with a job.
- Push & pull — thread shifts fabric, so a good digitizer adjusts early.
- Density — how close the stitches sit together.
One rule:
the smaller the design, the less detail you can fit in.
Tiny text is where cheap files fall apart.
Pro Tip: On thin or stretchy fabric, puckering wins if you cram in stitches. The fix is the right underlay and pull compensation, not more density — that's the difference between a clean polo and a wrinkled mess.
Embroidery File Formats You Need
Different machines read different embroidery file formats:
- DST — the most common, works across most commercial machines.
- PES — used by Brother and many home machines.
- JEF — used by Janome.
- VP3 — used by Husqvarna and Pfaff.
Not sure which one? Tell your digitizer what machine you run before they deliver. A perfect file in the wrong format is a wasted file.
Cost & Turnaround (2026)
Here's the honest US market picture right now.
A standard left-chest logo runs about $10–$40 flat. Bigger designs, like a jacket back, switch to $1–$4 per 1,000 stitches, plus a small setup fee at most shops to cover artwork review and the test run.
Turnaround has sped up.
Many files now come back in 2 to 24 hours, with rush options in as little as two.
Best part: digitizing is a one-time cost. Once you pay, the file is yours to reuse forever.
You only pay again for a brand-new design or a major change.
Embroidery Digitizing Trends in 2026
The craft is the same, but what customers want from embroidery digitizing has shifted.
- 3D puff digitizing jumped off the cap — raised letters on hoodies and jackets now, not just hats. It's its own digitizing job, not a flat logo you "puff."
- Appliqué digitizing is back — fabric stitched onto the garment for a bold look with fewer stitches. It lives or dies on the borders.
- Flat logos look dated — texture embroidery layers satin and blends shades, so a logo looks painted, not stamped on.
- Efficiency is the quiet win — fewer trims and color changes mean faster runs and less waste. Smart shops now offer two files: one detailed, one lean.
- Cloud approvals — you see the proof online and thumbs-up in minutes, not email chains.
- Coloreel is the wild card — it colors thread live, mid-stitch, so one spool goes multi-color with no swaps. Early, but worth watching.
AI drafts it in seconds. Someone who's watched thread pucker still decides if it's any good.
How to Spot Quality Work
You can learn to tell quality embroidery files from cheap ones:
- Clean, crisp edges.
- Small text stays readable.
- Fabric lies flat, no puckering.
- Smooth color changes with few trims.
Two quick checks before you commit: ask for a close-up sew-out sample, and read the revision policy.
A shop that charges for basic edits or is slow to fix them is a red flag worth taking seriously.
Prep Your Artwork the Right Way
Half of all digitizing problems start with a bad source image. Give your digitizer something clean and you get a cleaner file back, faster.
- Best: a vector file (AI, EPS, PDF, or CDR).
- Good: a high-resolution PNG or JPG at 300 DPI or more.
- Avoid: a tiny logo pulled off a website — too low-res to trace well.
Also say the size and fabric up front. "3.5 inches, on a cap" tells the digitizer everything they need to plan the stitches right the first time.
AI and Digitizing in 2026
AI-assisted tools in Wilcom, Hatch, and Pulse can build a fast first draft, and cloud proofs plus quick name-and-number personalization are speeding shops up.
But a first draft is not a finished file.
AI still can't beat a skilled human on complex logos, small text, or tricky fabric.
It can't tell if a logo lands on thick canvas, thin stretchy polyester, or the curved front of a cap.
Each one pulls thread differently.
It guesses the stitch path; it doesn't feel how the fabric pushes and pulls.
AI is fast. Skill is reliable. For your brand, skill wins.
Final Takeaway
Your logo should look as sharp on a jacket as it does on screen.
Now that you know what is embroidery digitizing, the choice is simple.
Get it right, and your branding survives wash after wash.
Get it wrong, and you pay to fix it twice.
Want stitching done right the first time, with a real sew-out test? Talk to our team at Patch Specialist.